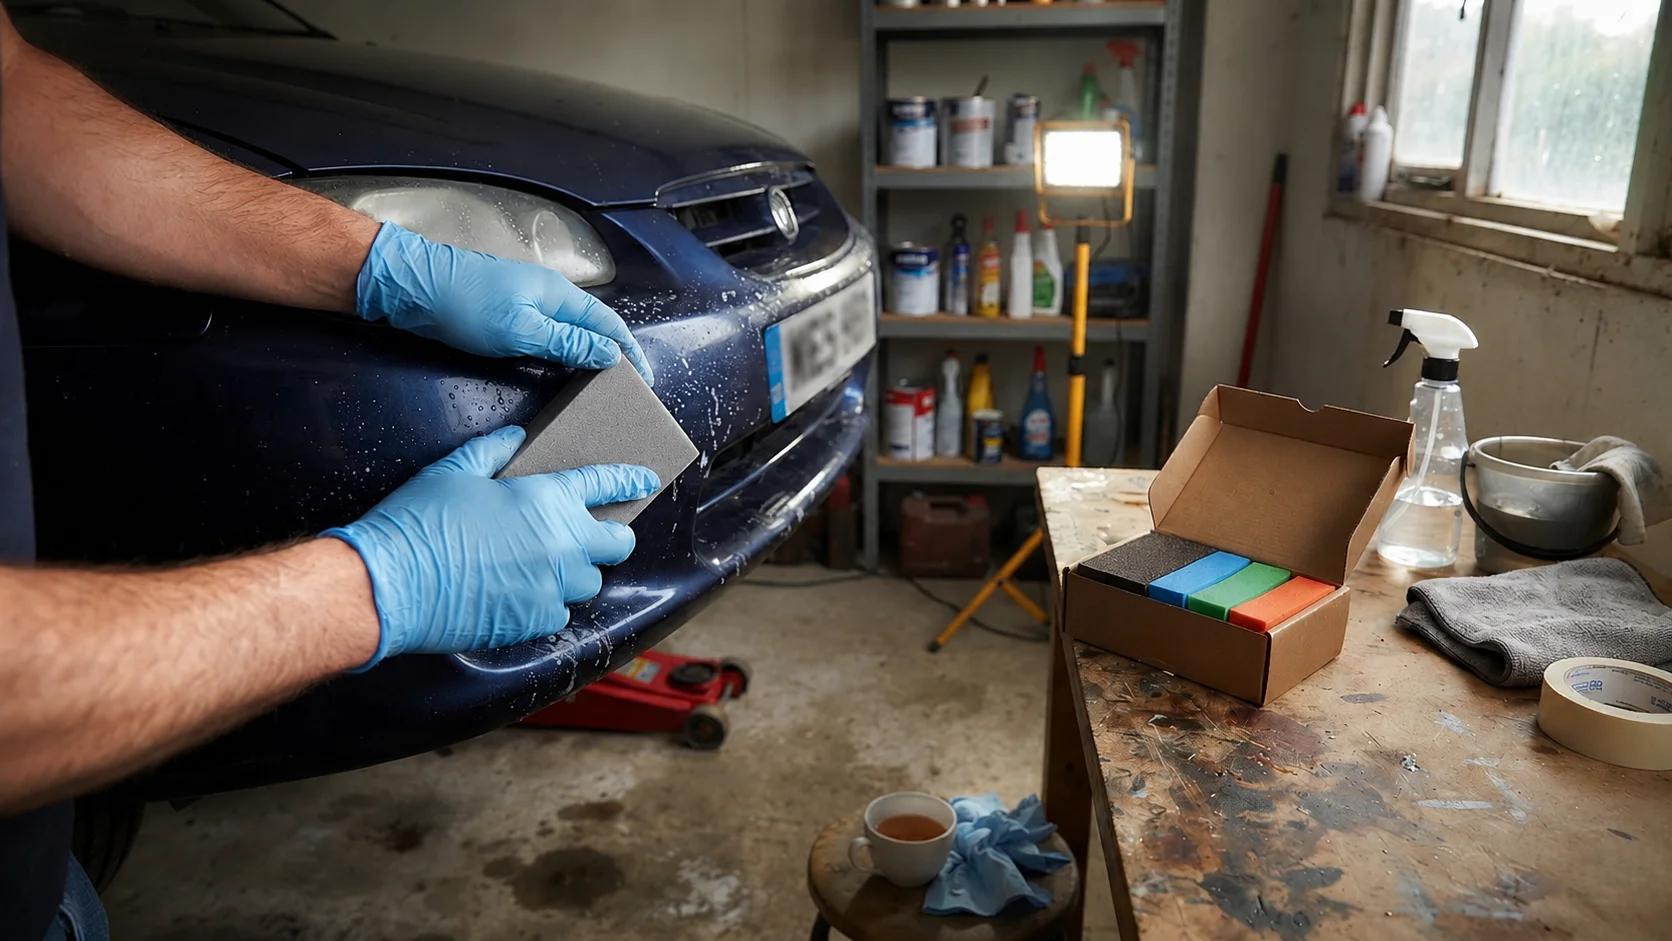

Most DIY paint repairs fail before a single drop of primer ever touches the car. The real culprit? Skipping proper surface prep — or worse, reaching for the wrong abrasive and leaving swirl marks that haunt you for months. If you're tackling a scuff, a keyed panel, or flaking clearcoat at home, a decent set of assorted grit sanding blocks is one of the most practical tools you can own. Not a power sander. Not a random orbital. Just foam, abrasive, and patience.
Why Surface Prep Is the Part Everyone Rushes
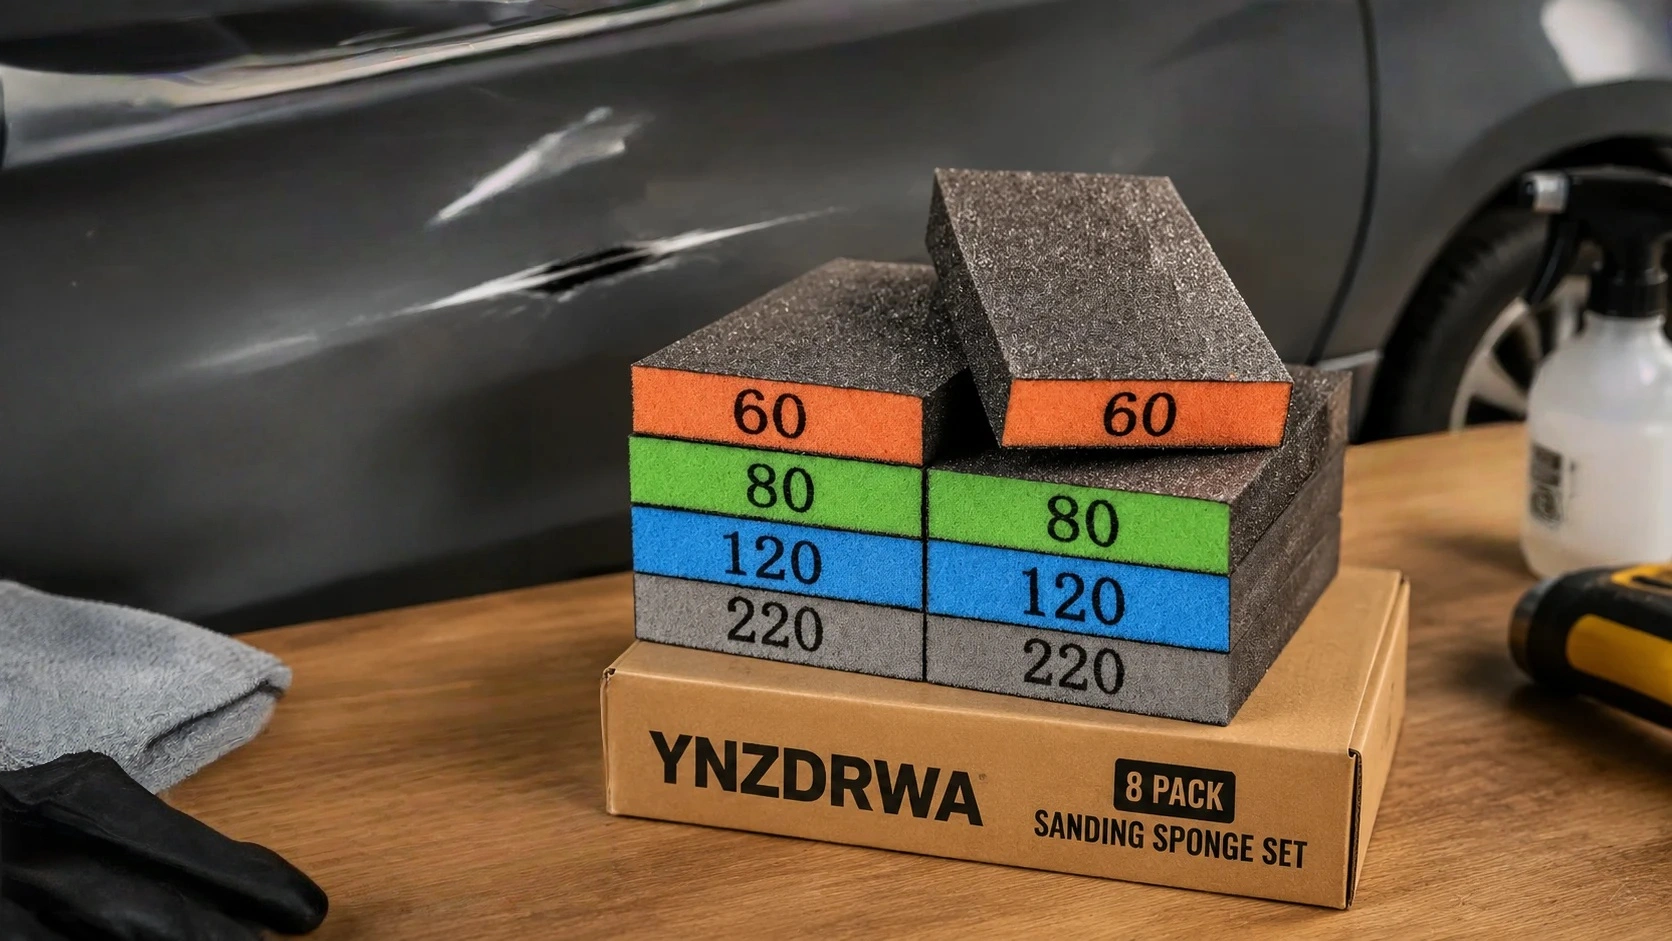
There's a reason body shops spend more time sanding than spraying. Paint doesn't bond to smooth, contaminated, or uneven surfaces — it bonds to prepared ones. A properly feathered edge, a clean scratch channel, and a progressively refined finish give your topcoat something to hold onto.
The problem with a lot of home repair kits is that they bundle a tiny square of sandpaper and call it preparation. A single grit doesn't do the job. Car bodywork sanding requires working through multiple grades — coarse enough to cut, fine enough to refine, without jumping steps that leave visible scratches under your paint.
This is where sanding sponges for car paint prep earn their keep over flat paper. They flex around curved panels, they don't fold and crease mid-stroke, and the good ones can be rinsed and used again.
Understanding Grit: What Each Grade Actually Does on a Car Panel
Before you pick up anything abrasive, it helps to know what you're actually doing to the surface.
Coarse Grits (60–80): Cutting and Feathering
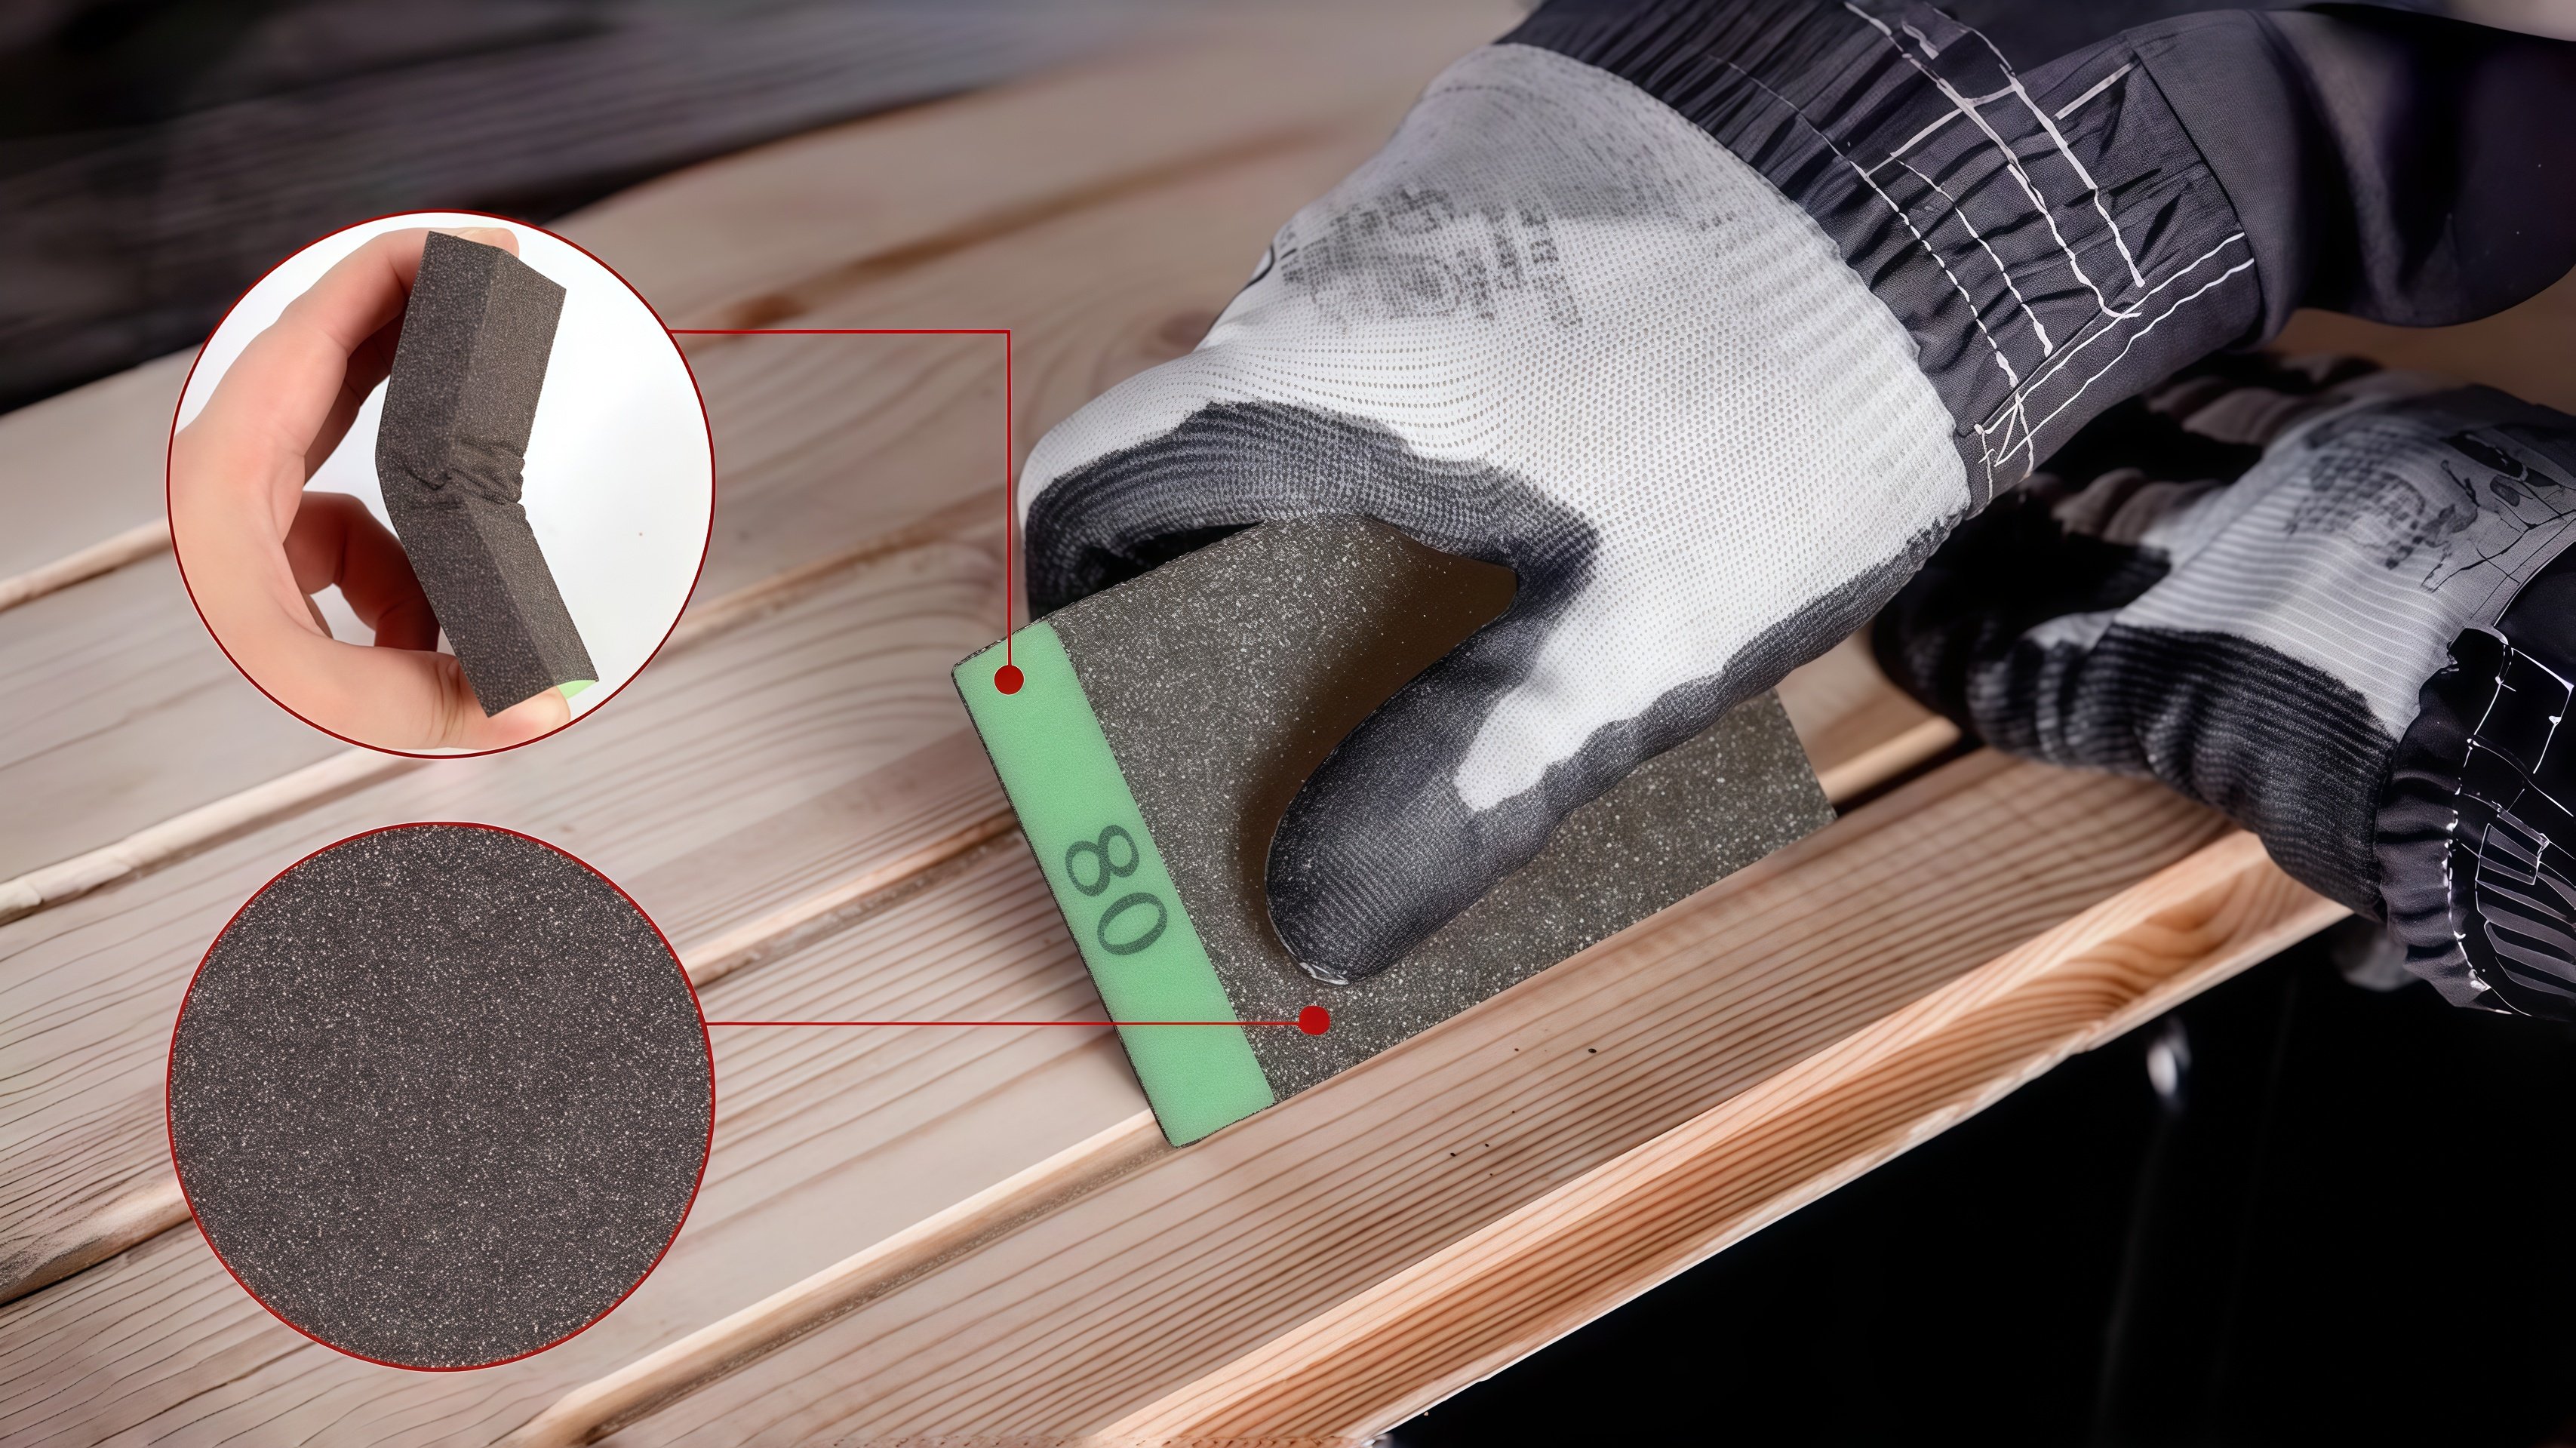
60 grit is aggressive. On a car, you'd use it only for heavily damaged areas — deep gouges, thick rust scale, or old filler that needs cutting back. Most everyday scratch repairs don't need to go this coarse.
80 grit is more typical for the initial stage of a car scratch repair — opening up the edges of a chip, removing failing clearcoat, or flattening a rough area before you build it back up with filler or primer.
Medium Grits (120): Smoothing and Transitioning
This is the workhorse stage. 120 grit smooths down what the 80 left behind, removes the deeper scratches, and starts to bring the surface toward something you can actually prime over. Skipping this step and jumping straight from 80 to 220 is one of the most common mistakes in DIY bodywork.
Fine Grits (220): Refining Before Paint
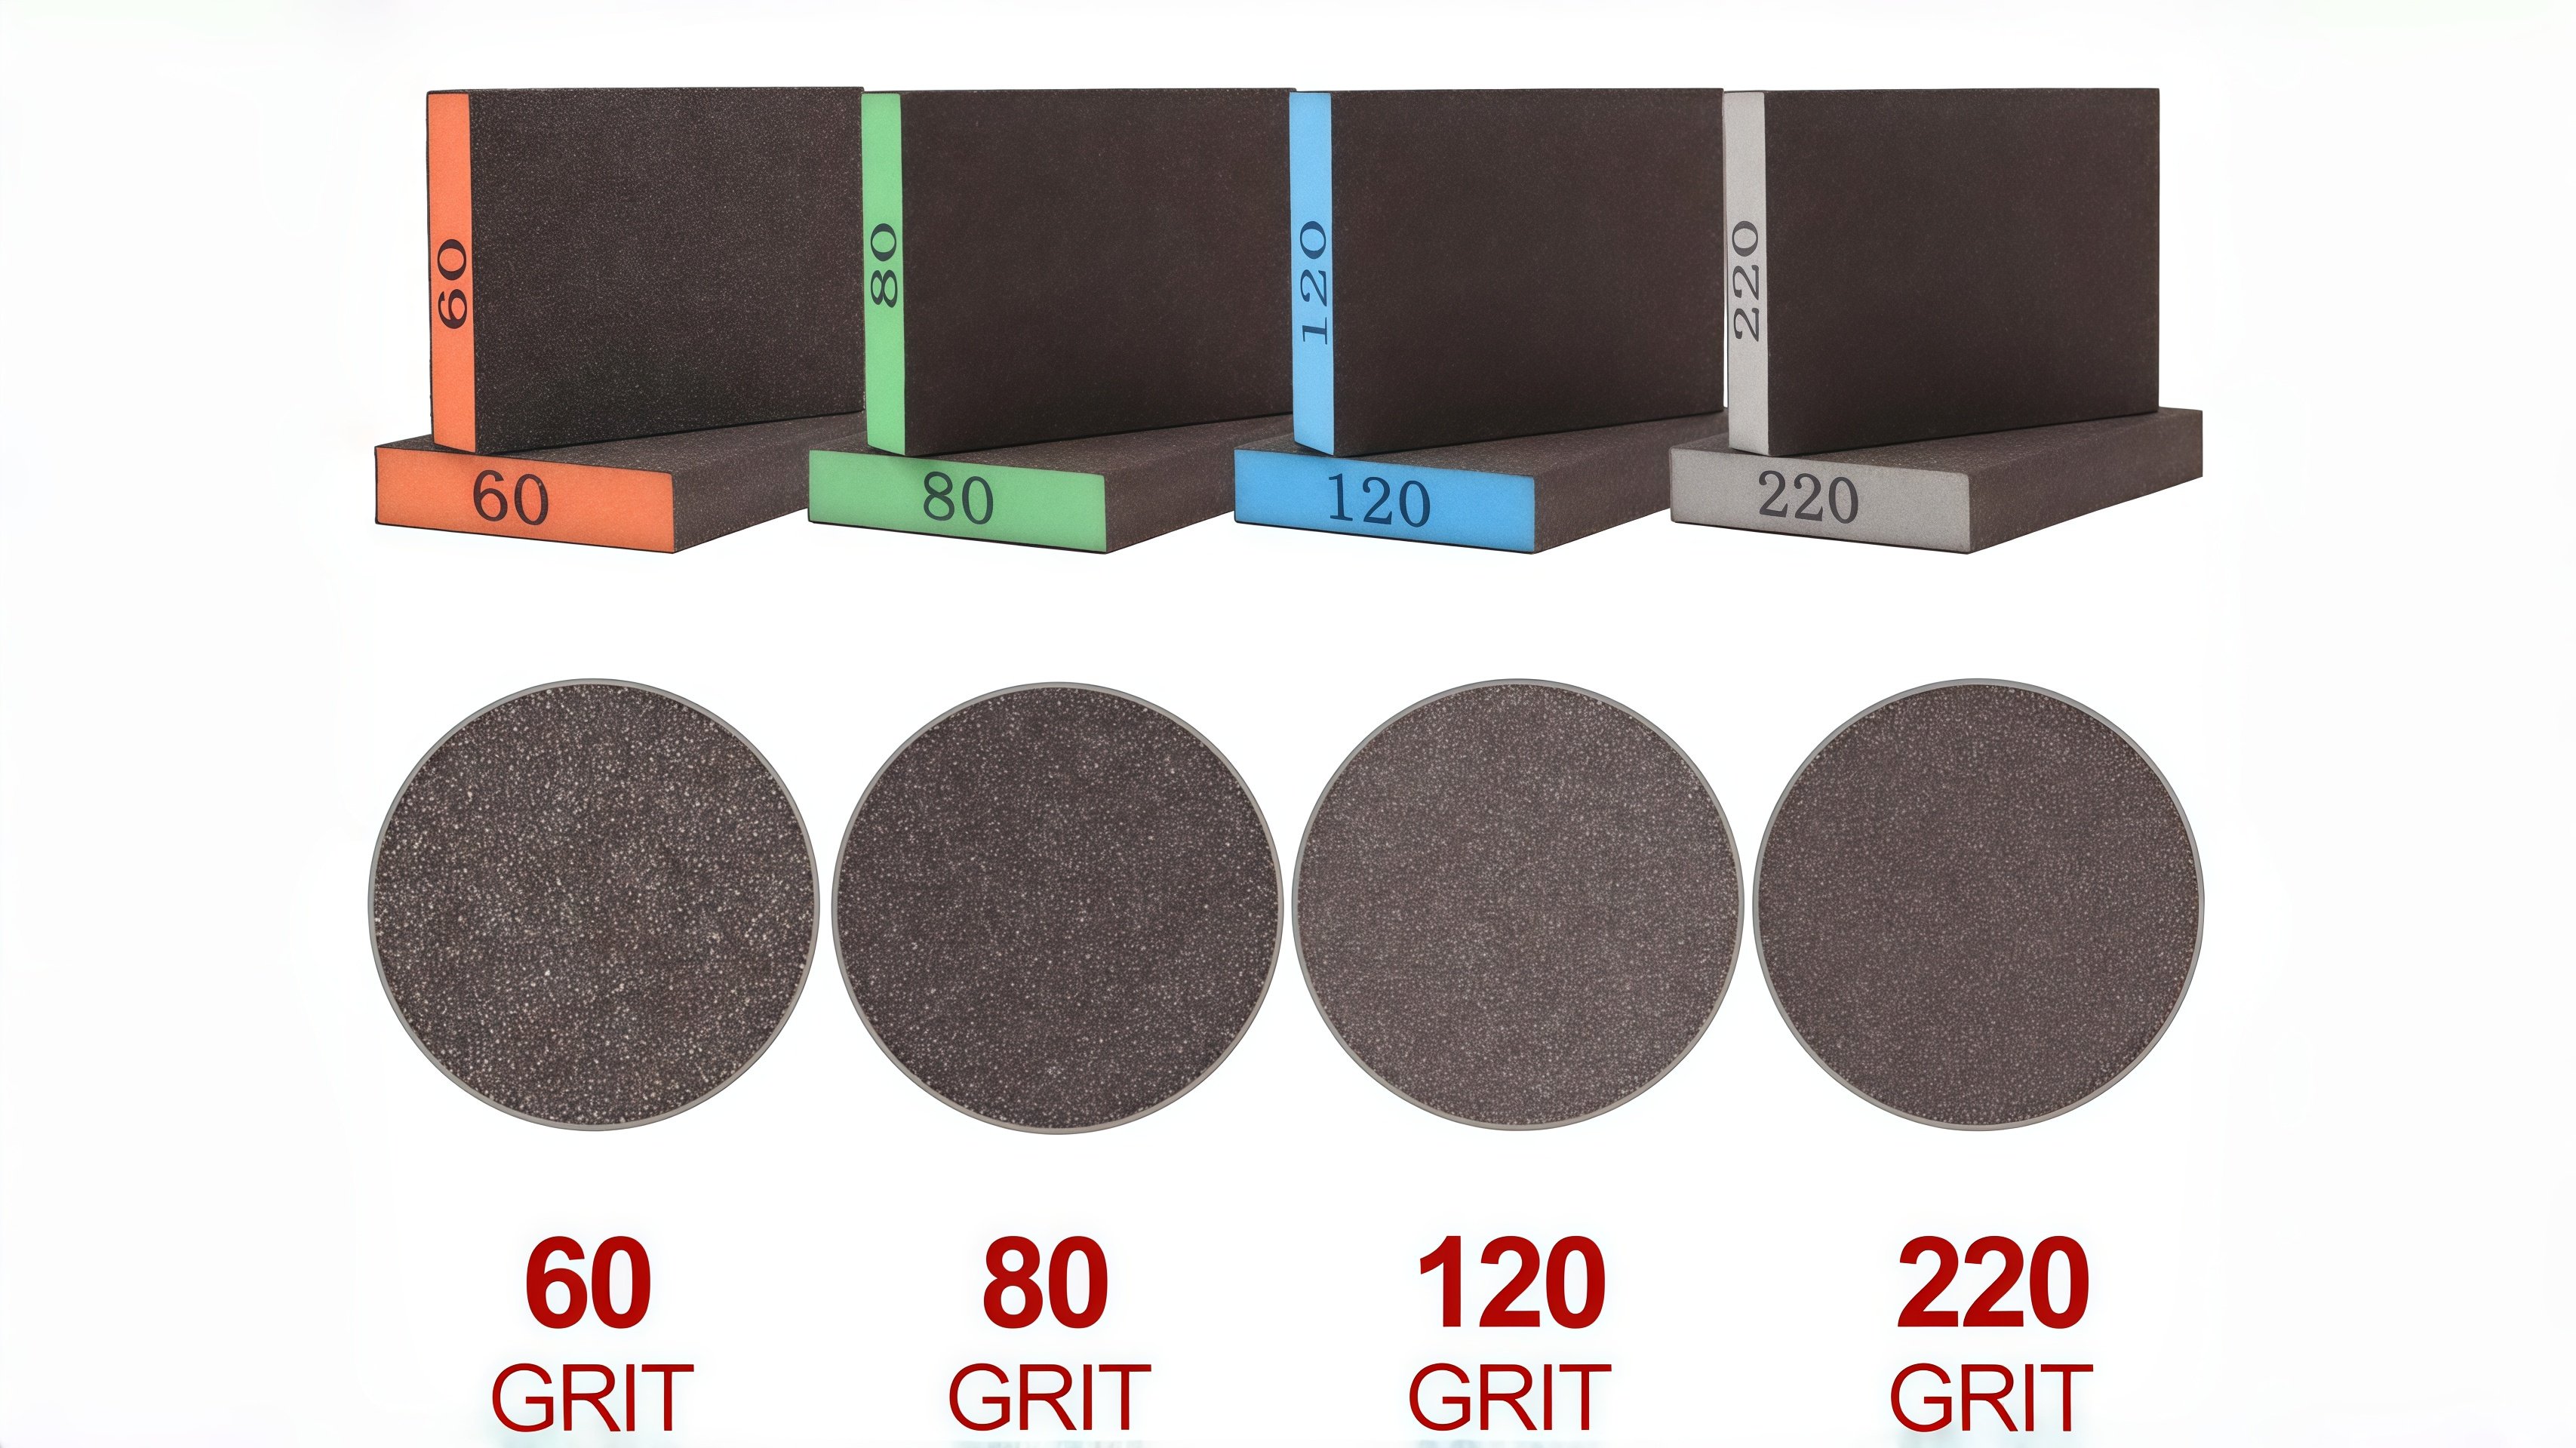
220 grit is where the surface starts to look right. You're not cutting anymore — you're refining. This is the final stage before primer, and it's also where wet dry sanding sponges really show their value. Wet sanding at this stage keeps the surface cool, reduces clogging, and gives you a smoother finish than dry sanding alone.
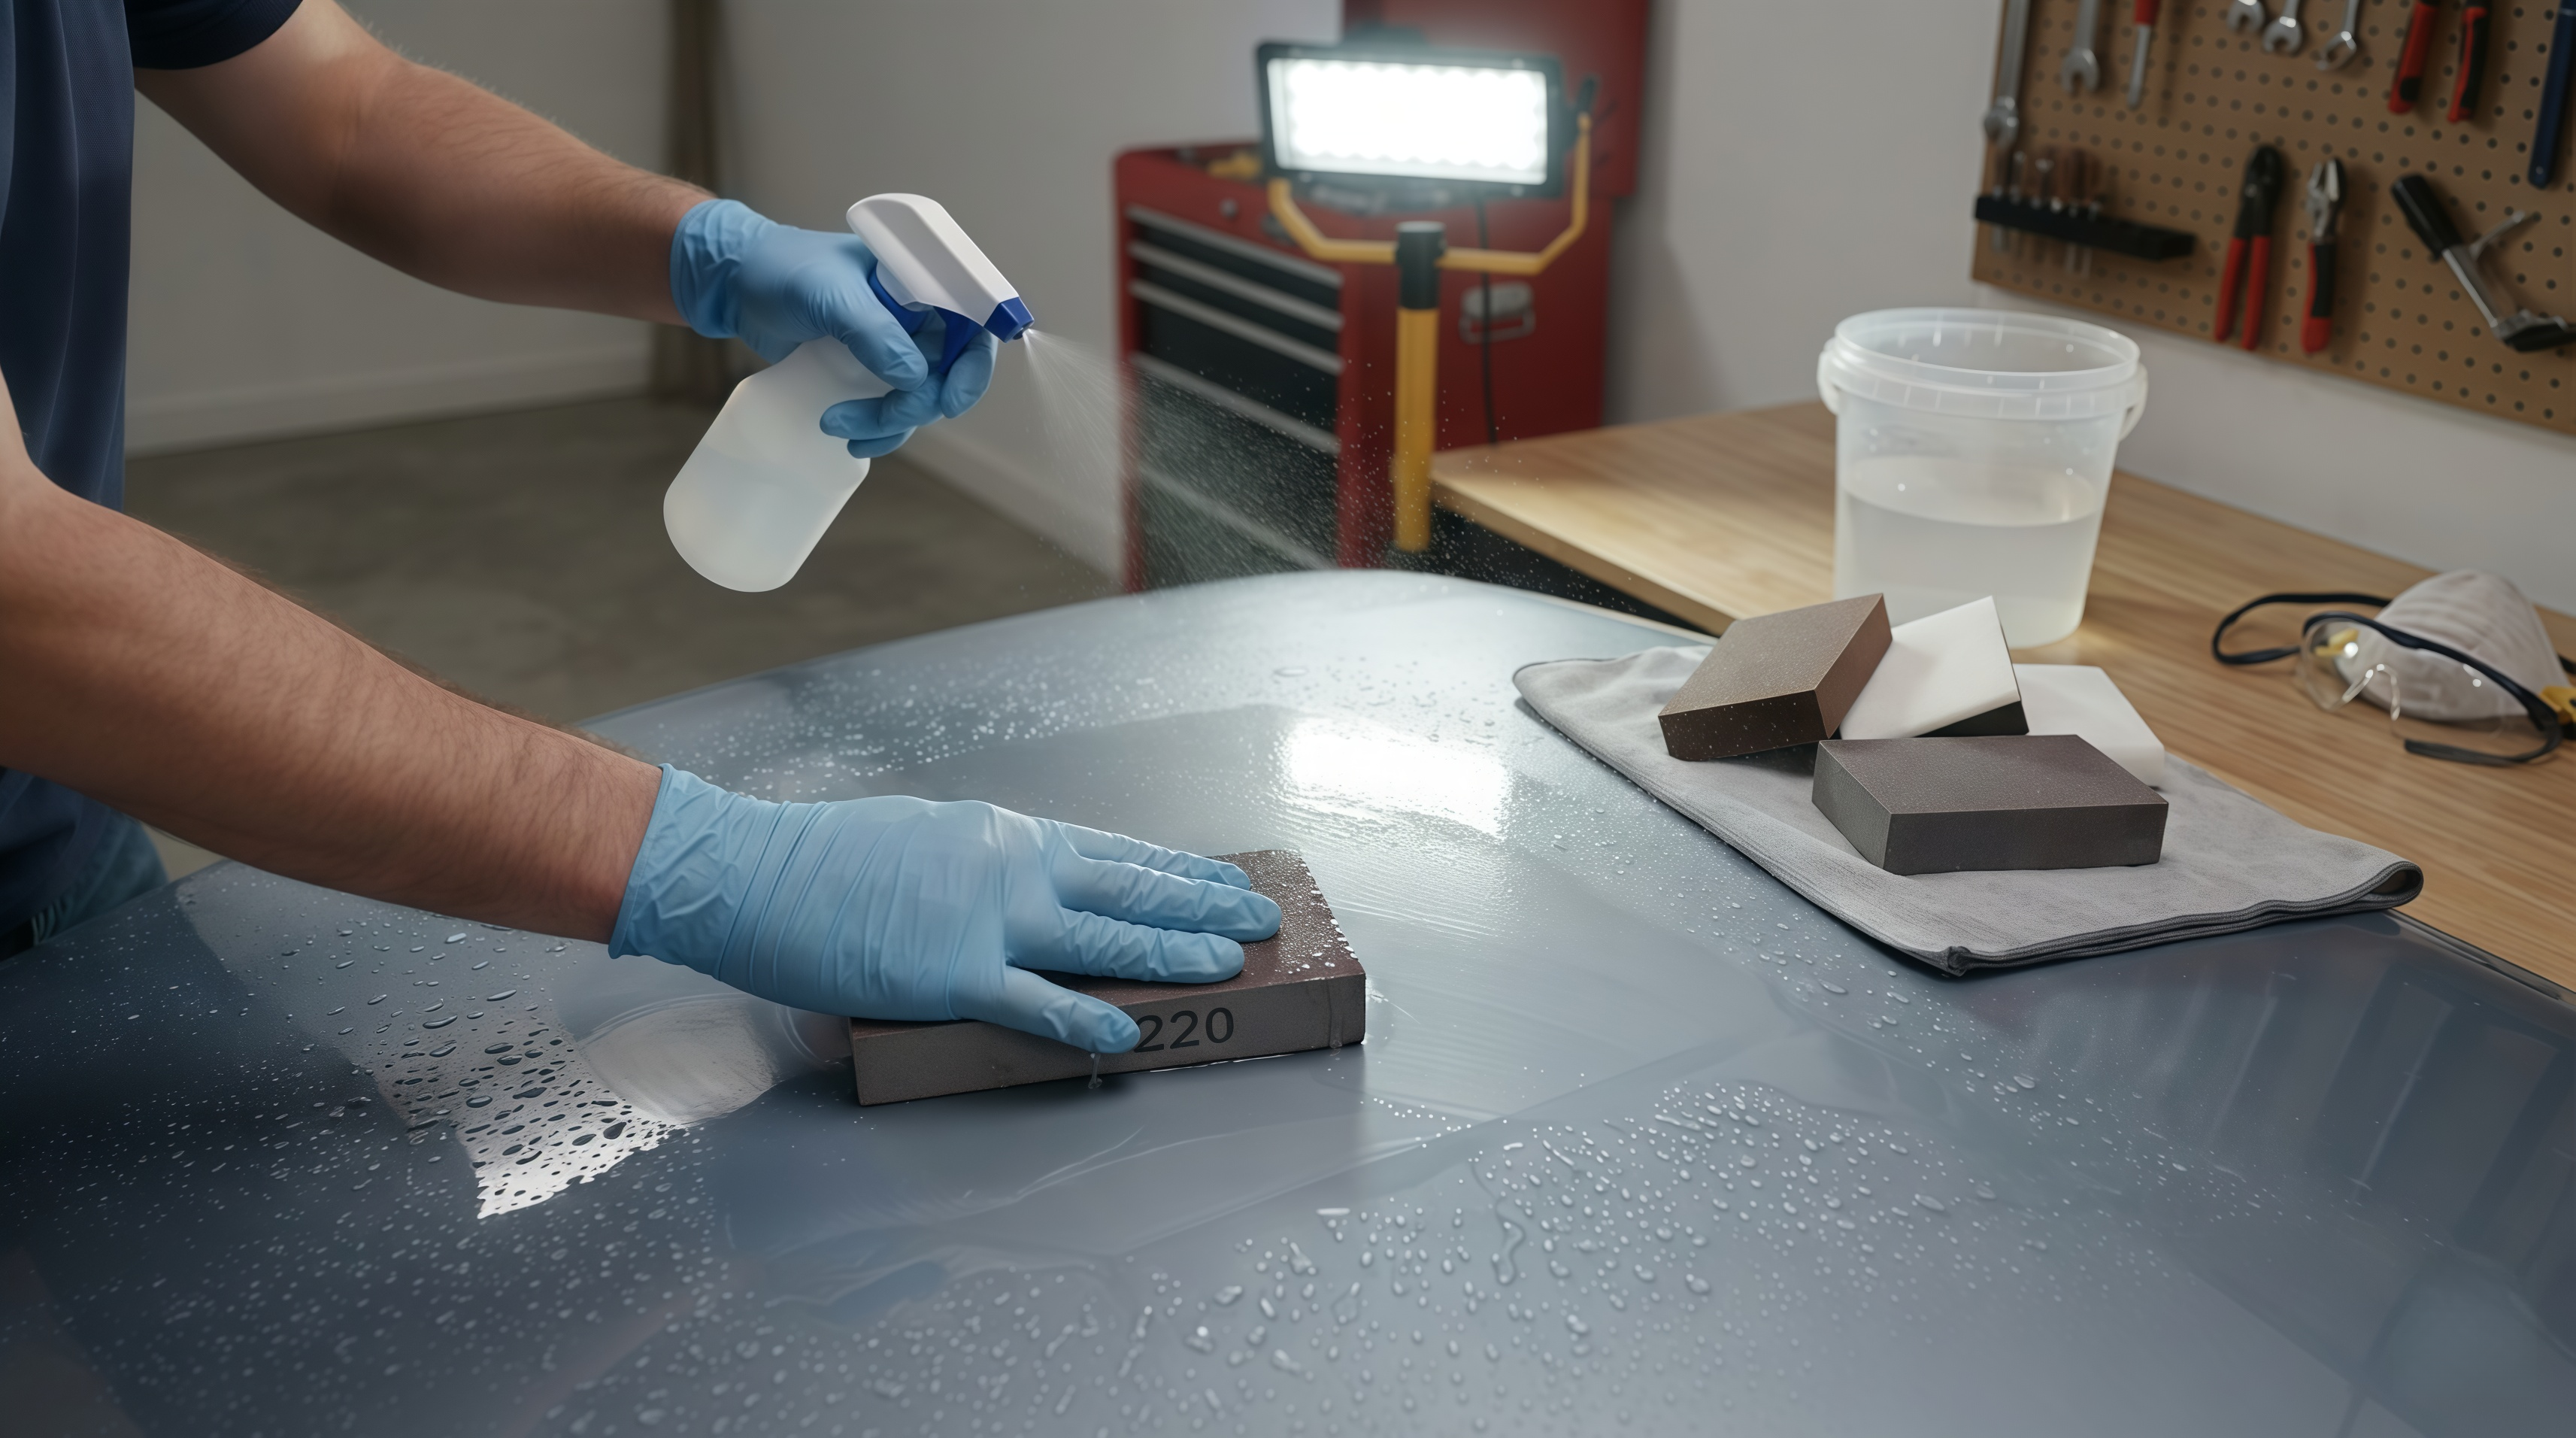
Grit Selection at a Glance
Grit | Stage | Typical Use on a Car |
|---|---|---|
60 | Heavy cutting | Deep rust, thick old filler |
80 | Initial prep | Feathering scratch edges, removing clearcoat |
120 | Intermediate | Smoothing 80-grit scratches, filler levelling |
220 | Finishing | Surface refining before topcoat or primer |
Why Sanding Blocks Work Better Than Flat Paper on Car Panels
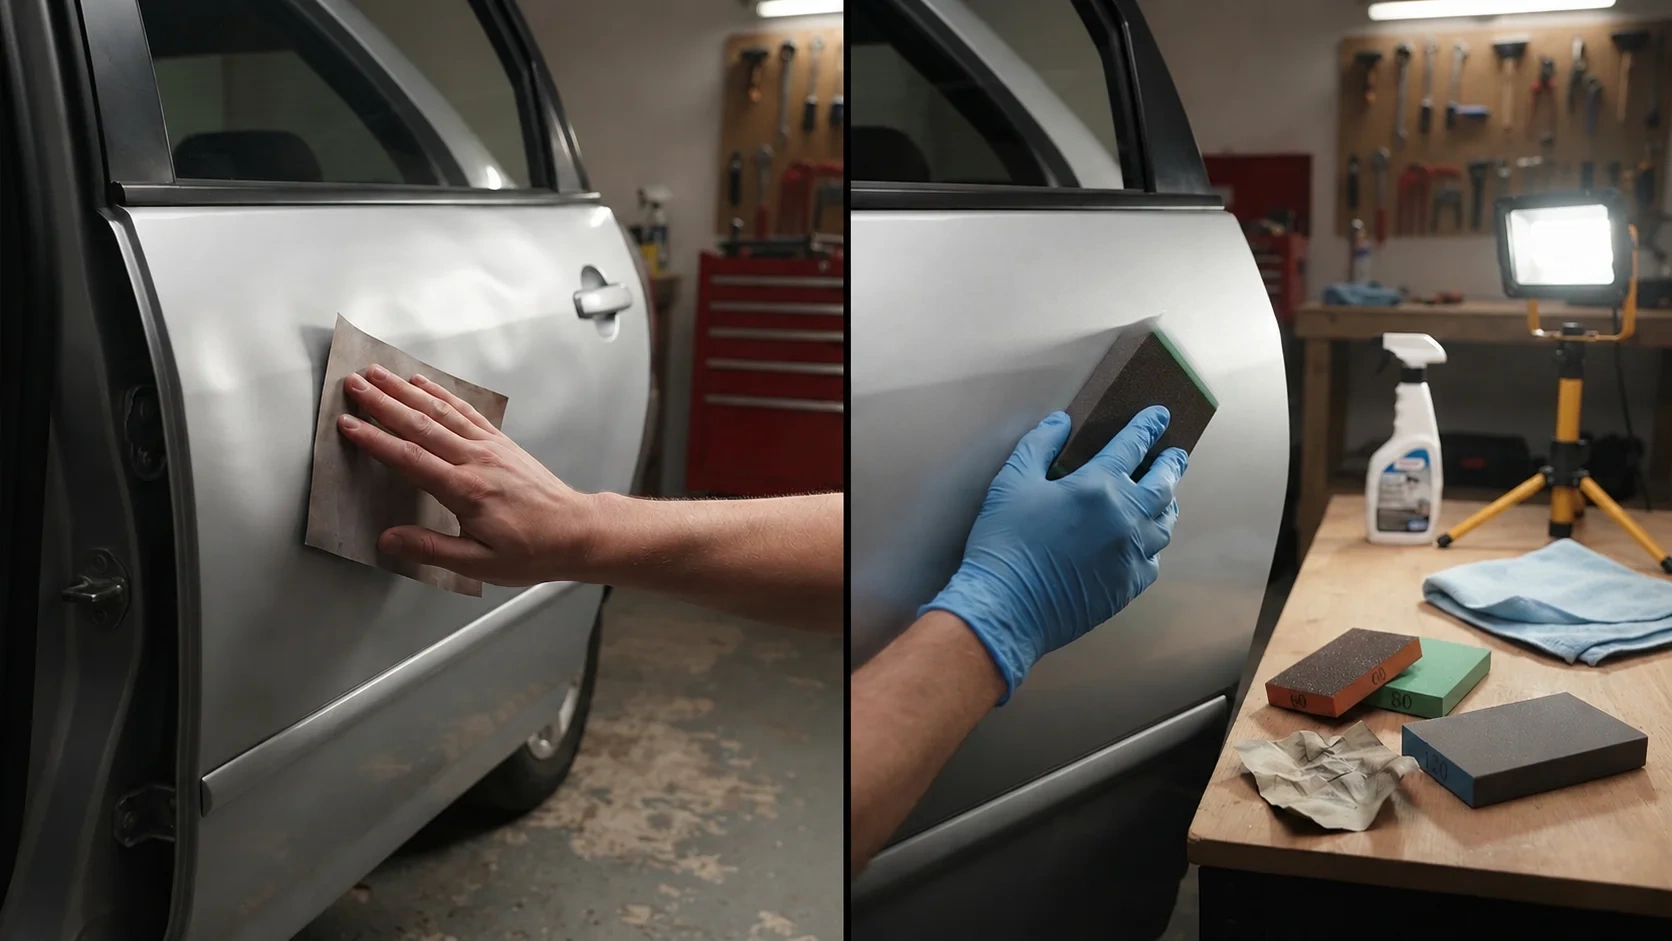
Flat sandpaper held in your fingers is unpredictable on a car panel. Finger pressure concentrates in uneven spots. You end up with a slightly wavy surface that only becomes obvious once the paint catches the light at an angle — what body shops call "highs and lows."
A sanding block for car paint repair distributes pressure evenly. The foam backing conforms to mild curves without distorting — important on doors, bonnets, and bumpers that aren't perfectly flat. The rigidity also helps when you're feathering an edge: you want consistent contact, not a flexible sheet that follows every tiny variation.
Wet vs Dry — Knowing When to Switch
Wet sanding with a sponge block (especially at 220 and above) keeps the abrasive cutting cleanly rather than clogging with dust. It's the standard approach for:
Final surface prep before primer
Flattening down a primer coat before colour
Removing light orange peel from a new clearcoat
Dry sanding works better in the earlier stages where you're removing material quickly, or when working on areas where water would cause a problem (near electrical components, or on bare metal where flash rust is a concern).
The practical advantage of a washable and reusable sanding sponge here is straightforward: you rinse it, let it dry, and it goes back in the toolbox. Over multiple repair jobs, that's a genuine saving over disposable paper.
How to Sand a Car Scratch Before Painting — Step by Step
This is the sequence that actually works, whether you're dealing with a fingernail scratch through the clearcoat or a more serious gouge.
Step 1: Assess the Damage
Run your fingernail across the scratch. If it catches, it's through the clearcoat and possibly into the colour coat. If your nail glides over it, you may only need a light polish rather than sanding at all.
Step 2: Clean the Area Thoroughly
Panel wipe or isopropyl alcohol. No wax, no grease. The abrasive needs to be working on paint, not contamination.
Step 3: Start with the Right Grit
For most door scratches and minor scuffs: start at 120. There's rarely a reason to go coarser on standard keyed or stone-chip damage. Work in straight strokes along the panel line.
Step 4: Progress Through the Grits
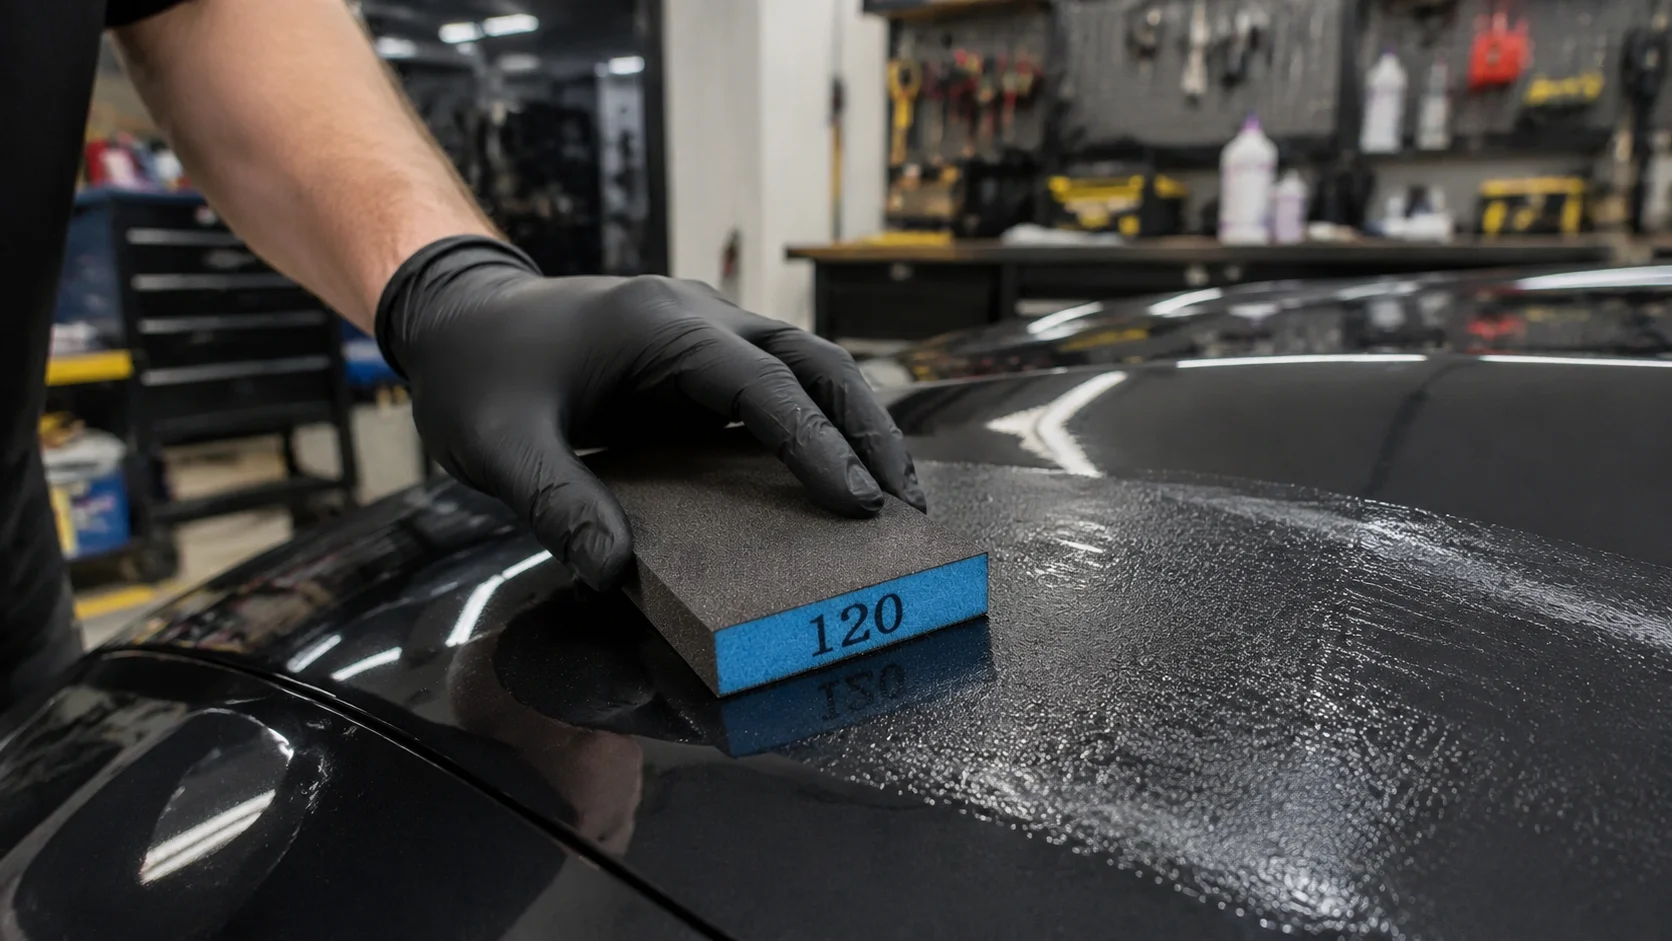
Move to 220. Each stage removes the scratches left by the previous one. This is not a step to skip. Jumping from 120 to 220 leaves subsurface marks that show under paint.
Step 5: Switch to Wet at 220
Soak your wet dry sanding sponge in clean water. Work in overlapping passes, keeping the surface wet. Wipe dry and check the finish under a work light before priming.
Step 6: Prime, Block Sand, and Spray
That's a separate article — but the point is, if you've done the sanding stages properly, everything that follows is much more forgiving.
Beyond the Car: Where Else This Kit Earns Its Keep
A good set of sanding sponges doesn't live exclusively in the garage. Once you've got a reliable pack of assorted grit blocks in your kit, you'll start reaching for them in places you didn't expect.
Woodworking and furniture finishing – 120 and 220 grit are perfect for smoothing raw timber, knocking down raised grain between coats of varnish, or prepping old furniture for a fresh stain. The foam backing follows contours on turned legs and carved details where flat paper would crease and tear.
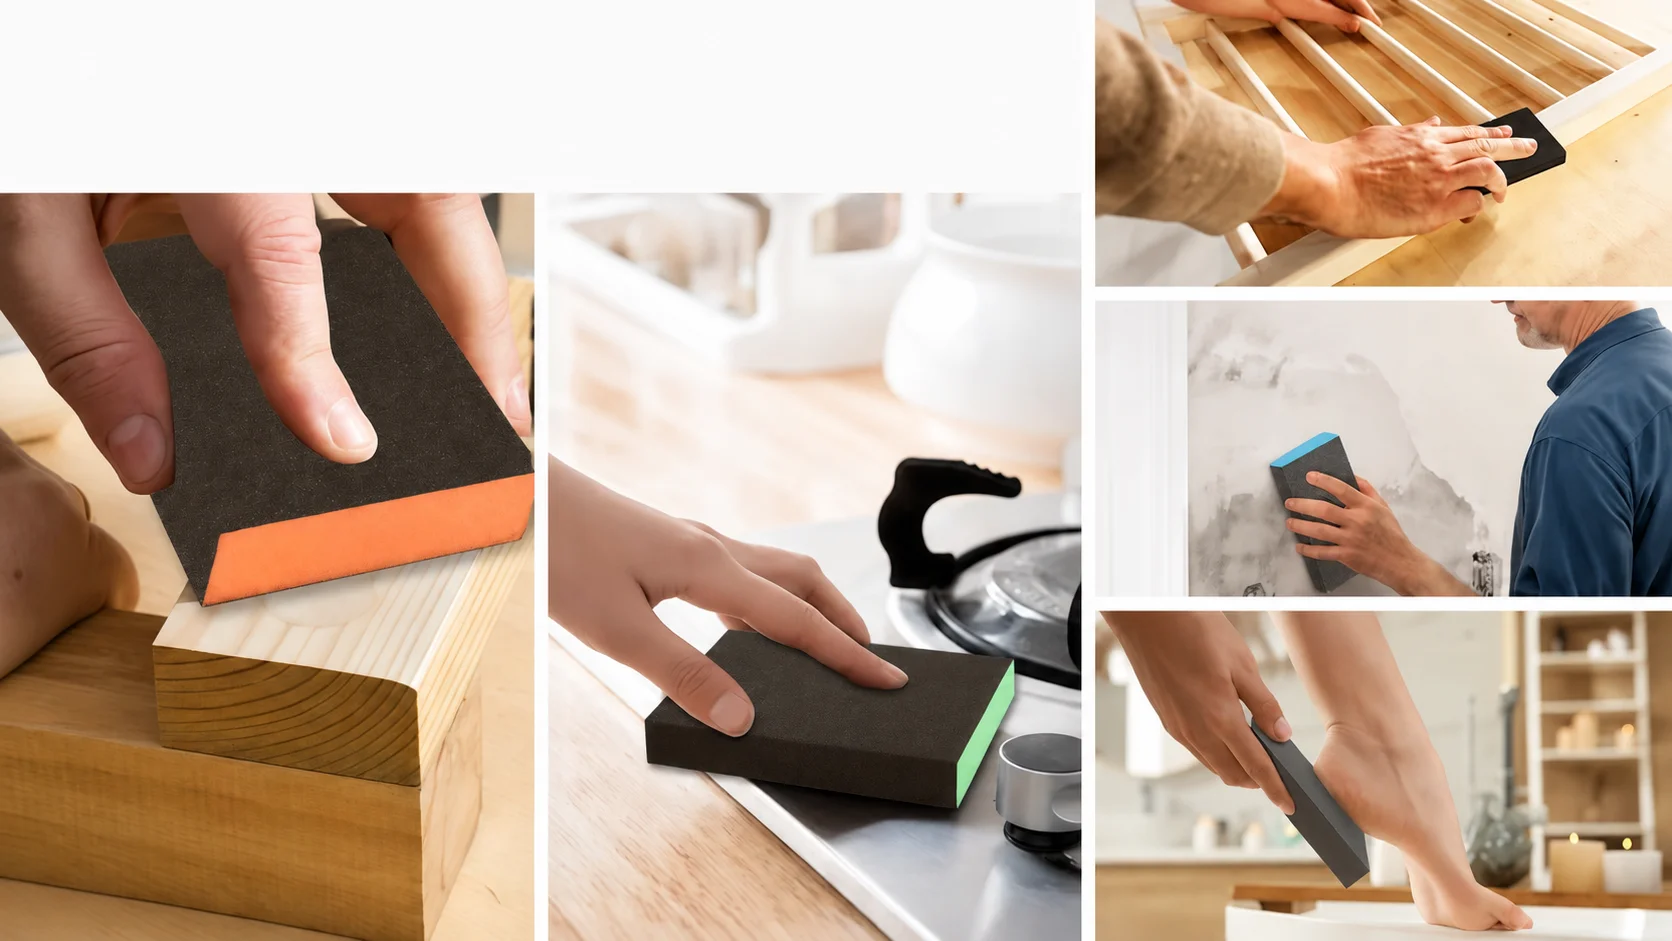
Drywall and plaster patching – 80 and 120 grit take the hard work out of flattening joint compound on wall repairs. The blocks are rigid enough to keep the surface flat, flexible enough to ease around corners. And because they're washable, you're not burning through sheets of sandpaper on every patch.
Metal polishing and rust removal – 60 grit cuts through light surface rust on garden tools, gates, or cast iron fittings. Move to 120 then 220 to refine the surface before paint or primer. For bare metal work, dry sanding is usually the safer bet to avoid flash rust.
Even kitchen and household jobs – dulling down a glossy tile edge, prepping a wooden chopping board for oiling, or smoothing a rough patch on a painted door frame. It's the kind of tool that quietly solves problems you didn't realise had a solution.
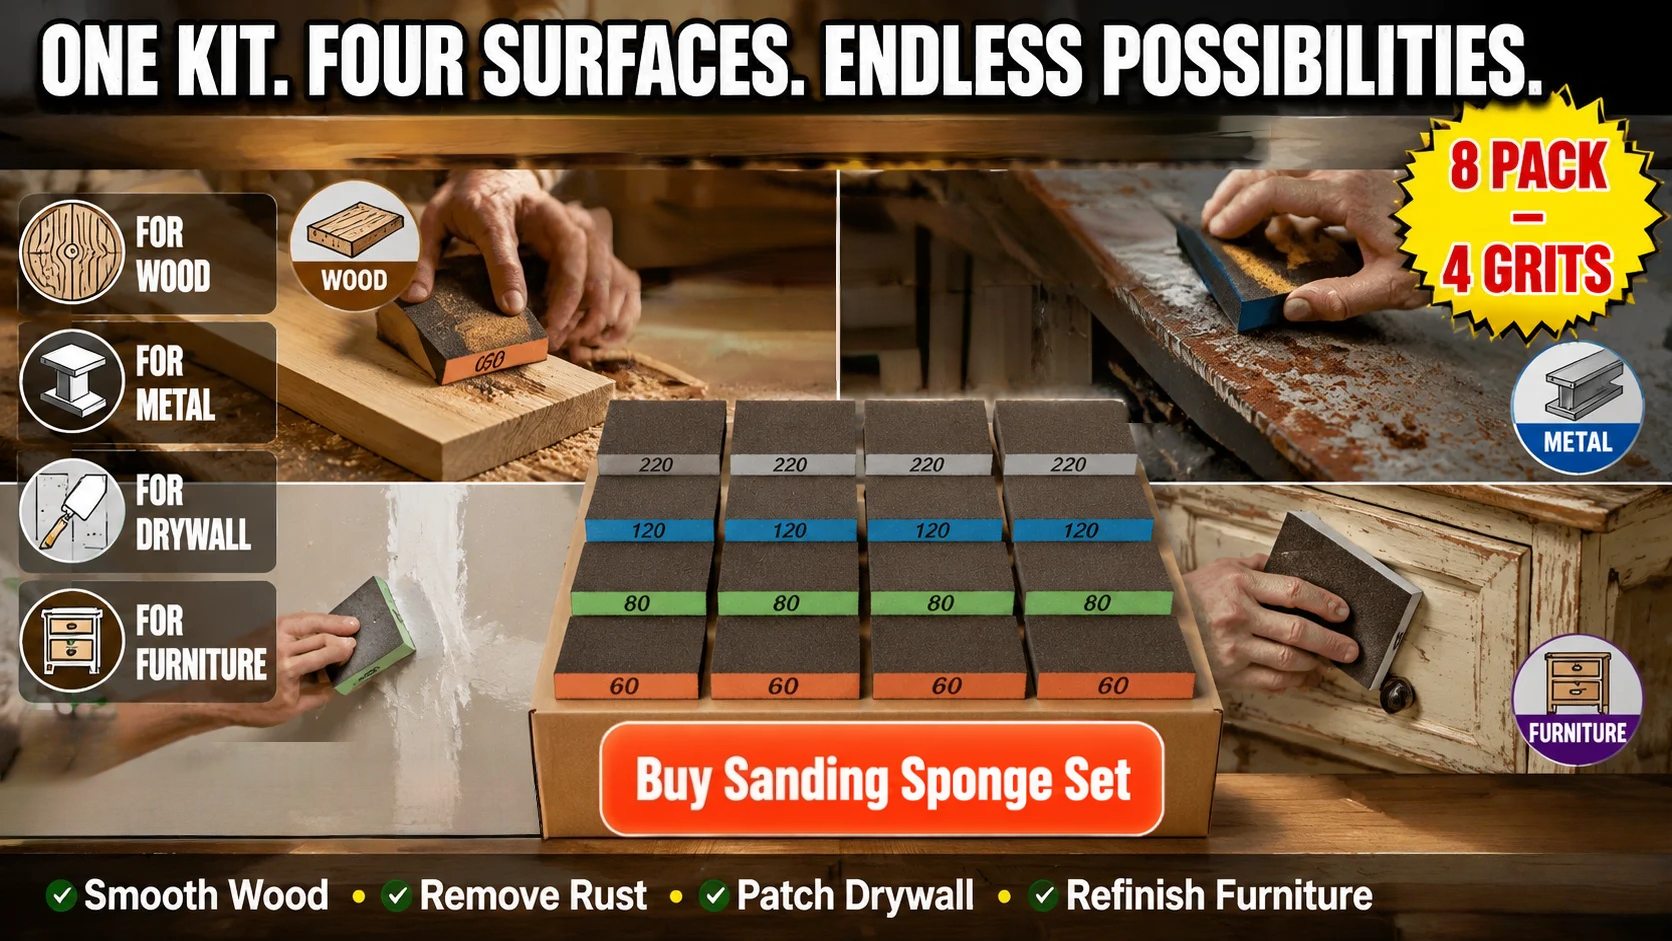
For UK homeowners and DIYers, the versatility across car, wood, metal, and drywall is what turns a reasonable pack of sponges into something that actually earns its place in the cupboard. It's not a one-job wonder. It's a multi-surface workhorse.
What Makes a Sanding Sponge Worth Keeping in the Toolbox
Not all sanding sponges are built for car bodywork. Some fall apart when wet, some lose their abrasive after a single use, and some are so thin they offer no real backing support.
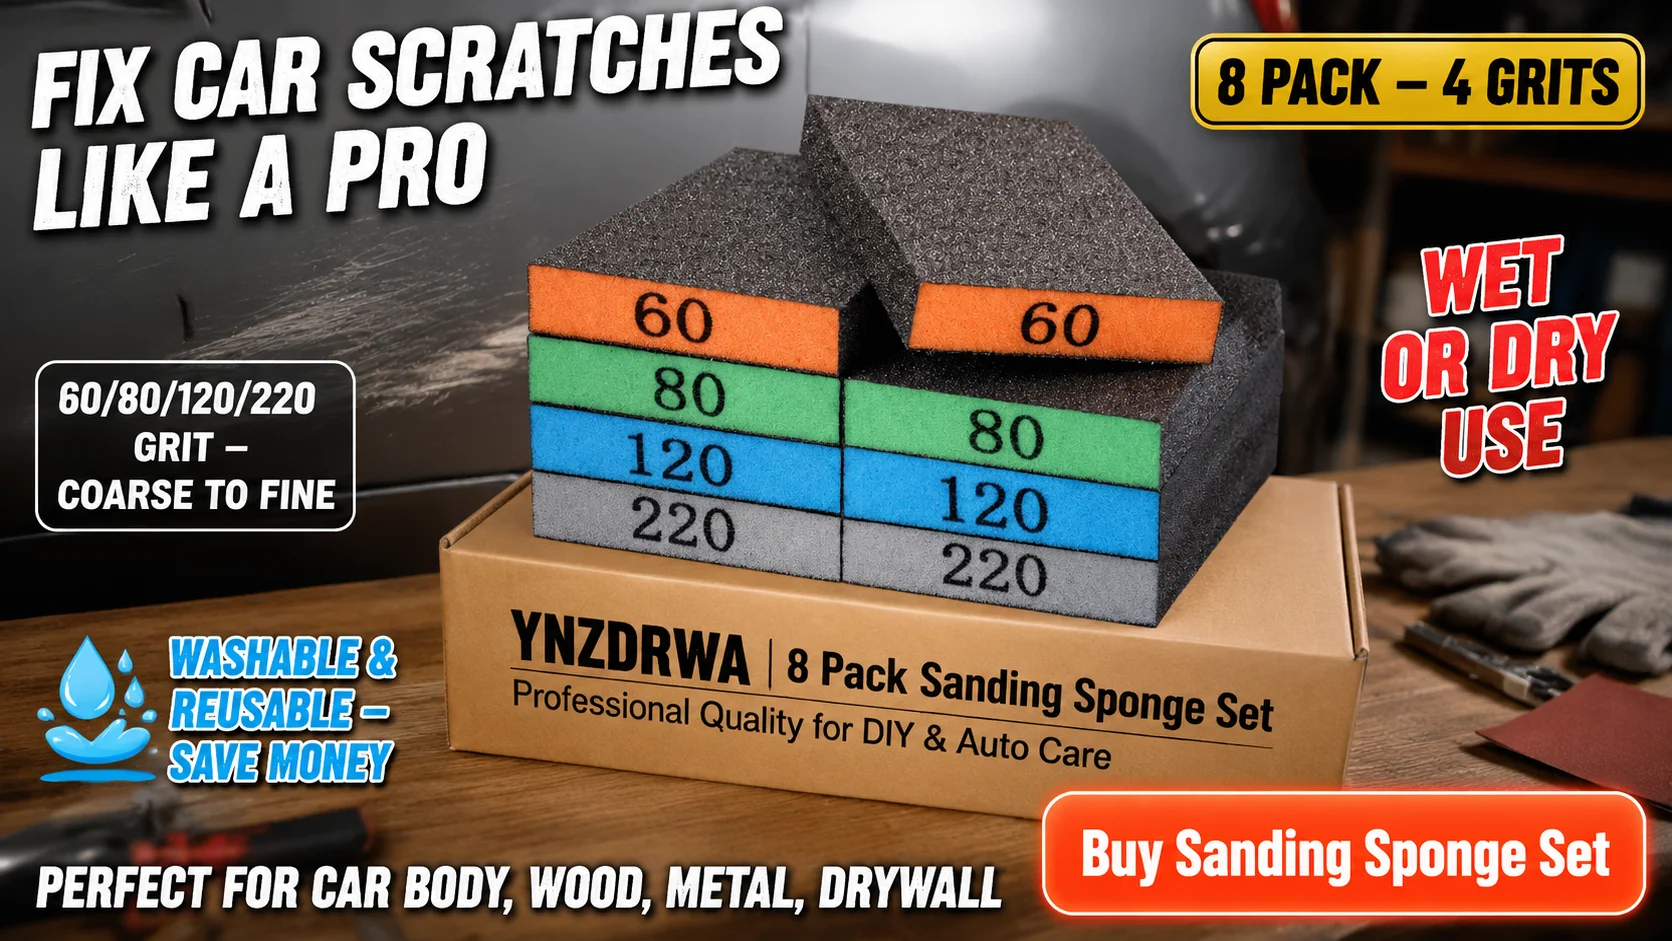
The set we've been working with for this guide uses industrial-grade brown corundum abrasive with an electrostatic sand-planting process — which is the same technology used in professional abrasives. The grains are embedded rather than surface-coated, so they stay sharp under pressure and don't shed mid-stroke. Each block is colour-coded and has the grit number printed directly on the foam, which sounds trivial until you're under a car in poor light trying to find your 80.
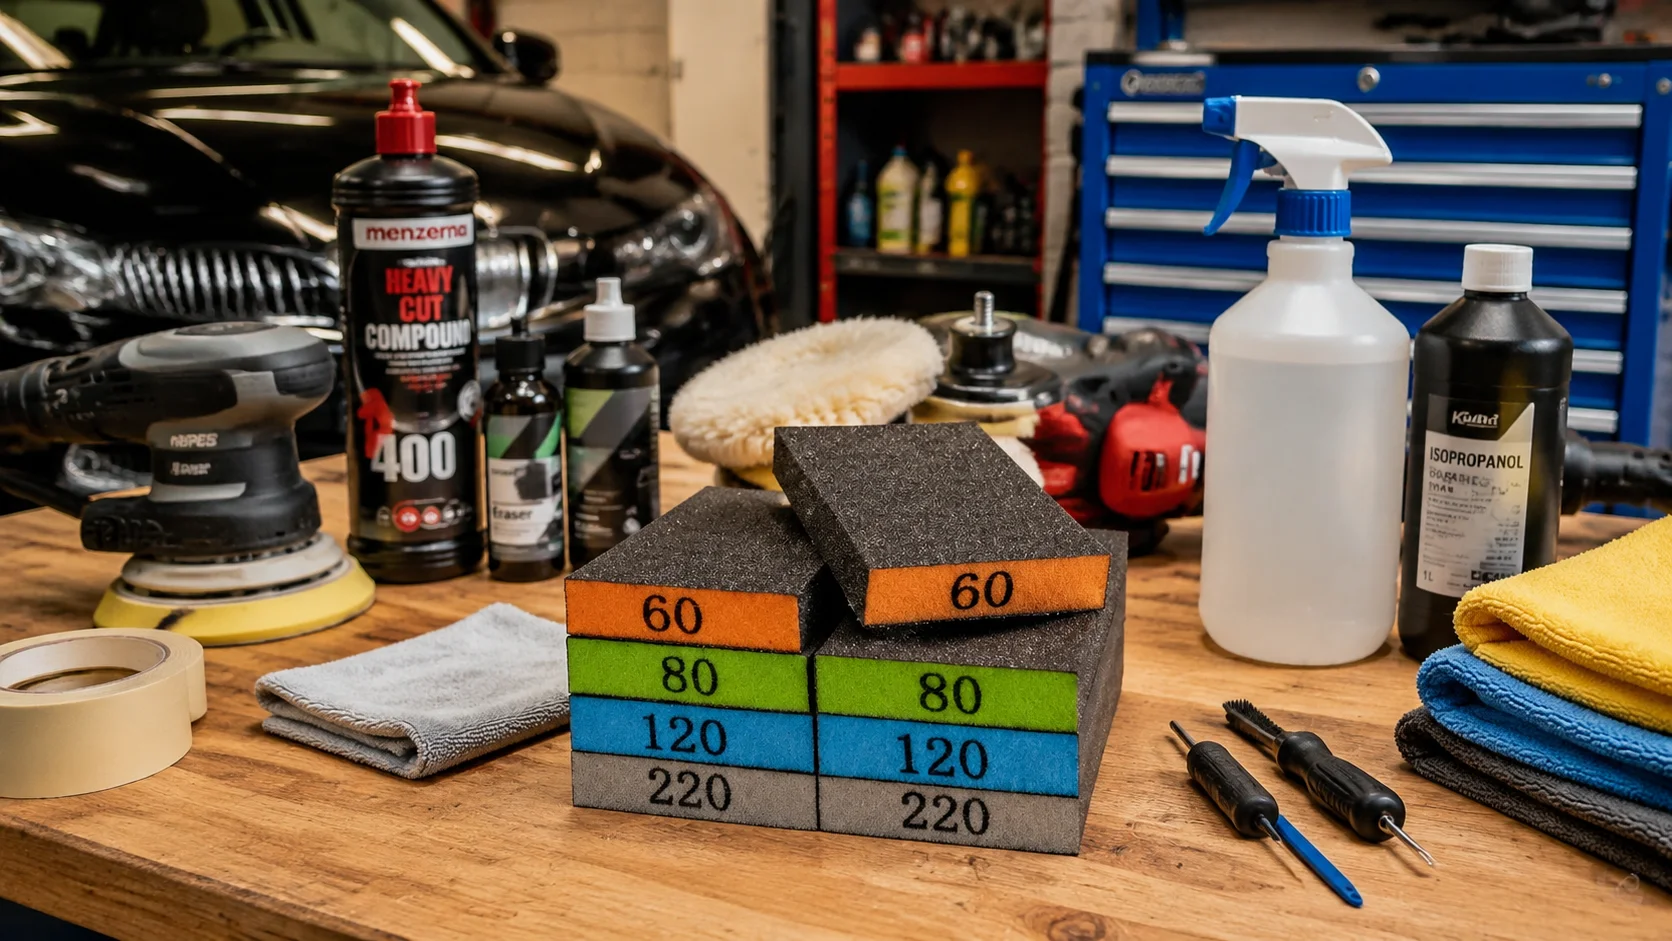
The pack includes 8 blocks across four grits (60 / 80 / 120 / 220), two of each — enough to work a full repair from rough cut to final prep without running short.
For UK drivers doing their own car maintenance and minor bodywork, it's the kind of kit that lives in the garage and earns its space.
FAQ
Can I use these sanding sponges on primer filler?
Yes. 120 grit works well for flatting down high-build primer before colour. Use 220 wet for the final pass.
How many times can a sanding sponge realistically be reused?
It depends on the material you're sanding and how aggressively. For car paint prep (relatively fine work), a single block can typically handle 3–5 repair jobs before the abrasive noticeably dulls.
Is wet sanding safe on a freshly sprayed panel?
Yes, but only after the paint has properly cured — usually 24–48 hours for rattle-can paint, longer for professional sprays. Wet sanding too early can lift or distort the finish.
Do I need all four grits for a simple scratch repair?
For a standard clearcoat scratch: probably not 60. Start at 80 or 120 depending on depth, finish at 220. The coarser grits are more relevant for bodywork involving filler.
What's the difference between a sanding sponge and a sanding block?
A sanding block typically has a rigid or semi-rigid foam core. A sanding sponge is softer and more flexible. For car panels, a sponge block offers the best of both — enough flexibility to follow slight curves, enough structure to sand flat.